Step-by-Step Chair Tai Chi Routine for Beginners and Seniors

If you have never tried tai chi, the idea of learning a "form" can feel intimidating. It doesn't have to be. This routine breaks seated tai chi into seven simple steps, each with exact positions, breathing cues, and timing. The whole thing takes about 15 minutes, and it is built for beginners and seniors, including anyone who cannot stand comfortably.
Read it once, then follow along. By day four or five you will mostly remember it.
Setup: 2 Minutes That Make Everything Safer
- Choose the right chair. Sturdy, with a firm seat, no wheels or swivel, and no armrests that block your arm movements. Place it against a wall or in a corner if you worry about tipping.
- Sit near the front. Use the front half of the seat so your back is upright and free. Your back doesn't need to touch the chair.
- Position your feet. Flat on the floor, hip-width apart, knees roughly above your ankles. If your feet don't reach the floor, place a firm cushion or box underneath.
- Check your posture. Imagine a thread gently lifting the crown of your head. Shoulders loose, chest open, chin slightly tucked.
- Keep water nearby, and keep a phone within reach if you practice alone.
The Routine
Step 1 — Centering Breath (2 minutes)

Rest your hands on your thighs, palms down. Close your eyes or soften your gaze. Breathe in through your nose for 4 counts, and out for 6 counts. Do 8 breaths. On each out-breath, release one area: shoulders, jaw, hands, belly.
Why it matters: slow breathing signals your body to settle and prepares your muscles for gentle movement.
Step 2 — Warm-Up Circles (2 minutes)
- Neck: turn your head slowly right, then left, 5 times each way. Stop at the first sign of tightness.
- Shoulders: roll back 5 times, then forward 5 times.
- Wrists: make 5 slow circles each direction.
- Ankles: lift one foot slightly and circle the ankle 5 times each way, then switch feet.
Step 3 — Rising Palms (2 minutes)
Let your hands hang by your sides, palms facing up. Breathe in while lifting your palms to chest height, as if lifting a tray of water. Breathe out while turning your palms down and pressing gently to your thighs. Repeat 8 times.
Beginner tip: let the breath lead. If your hands arrive before your breath, slow them down.
Step 4 — Holding the Ball (2 minutes)
Raise both hands in front of your chest, palms facing each other about a shoulder width apart, as if holding a soft beach ball. Rotate the ball gently: right hand moves on top and left underneath, then switch. Turn your torso only slightly. Do 8 rotations each direction.
Step 5 — Cloud Hands (3 minutes)

Place your right hand at chest height (palm toward you) and your left hand near your belly (palm down). Turn your waist slowly to the right. Let your hands pass each other in front of your body, so your left hand rises and your right lowers as you turn left. Keep going side to side in a smooth wave. Do about 12 rounds.
Keep your hips facing forward and let your waist and upper body do the turning. Your eyes follow the upper hand. Never rush; the whole move should feel like stirring warm water.
Step 6 — Gentle Forward Press (2 minutes)
With your back upright, bring your palms to your chest, fingers pointing up. Breathe out as you slowly press your palms forward to shoulder height, without locking your elbows. Breathe in as you draw them back to your chest. Do 8 repetitions. Keep your torso tall and avoid leaning forward.
Step 7 — Closing Form (1 minute)
Sweep both arms out wide as you breathe in. Circle them down as you breathe out until your palms rest on your belly. Take 5 quiet breaths. Open your eyes and notice how you feel.
A 4-Week Plan for Beginners
| Week | Goal | Suggested practice |
|---|---|---|
| 1 | Learn the steps | Steps 1, 3, 7 only, 5 to 8 minutes, 3 days |
| 2 | Add movement | Add steps 2 and 4, about 10 minutes, 3 to 4 days |
| 3 | Full routine | All 7 steps, 15 minutes, 4 days |
| 4 | Smooth it out | Full routine, slower than before, 4 to 5 days |
Missed a day? Just pick up the next day. Regular, relaxed practice matters far more than a perfect streak.
Common Beginner Mistakes
- Moving too fast. If the move takes less than 4 seconds, slow down.
- Holding the breath. Count the breath out loud for the first week.
- Hunching forward. Come back to "thread lifting the crown of the head."
- Locking elbows and knees. Keep a soft bend everywhere.
- Pushing through pain. Tai chi should feel warm and easy, never sharp.
Safety First
Speak with your doctor before starting if you have balance problems, dizziness, unmanaged high blood pressure, recent surgery, or advanced osteoporosis. Stop if you feel faint, short of breath, or pain. Keep your feet flat and the chair stable at all times. For more on balance, see our guide to tai chi for fall prevention. This article is general information, not medical advice.
Want Someone to Follow Along With?
Following written steps works, but many beginners say it's much easier to simply press play. That's why we made the Seated Tai Chi Video Course.
What you get
- Start Here: Set Up Your Chair
- Settle Your Breath
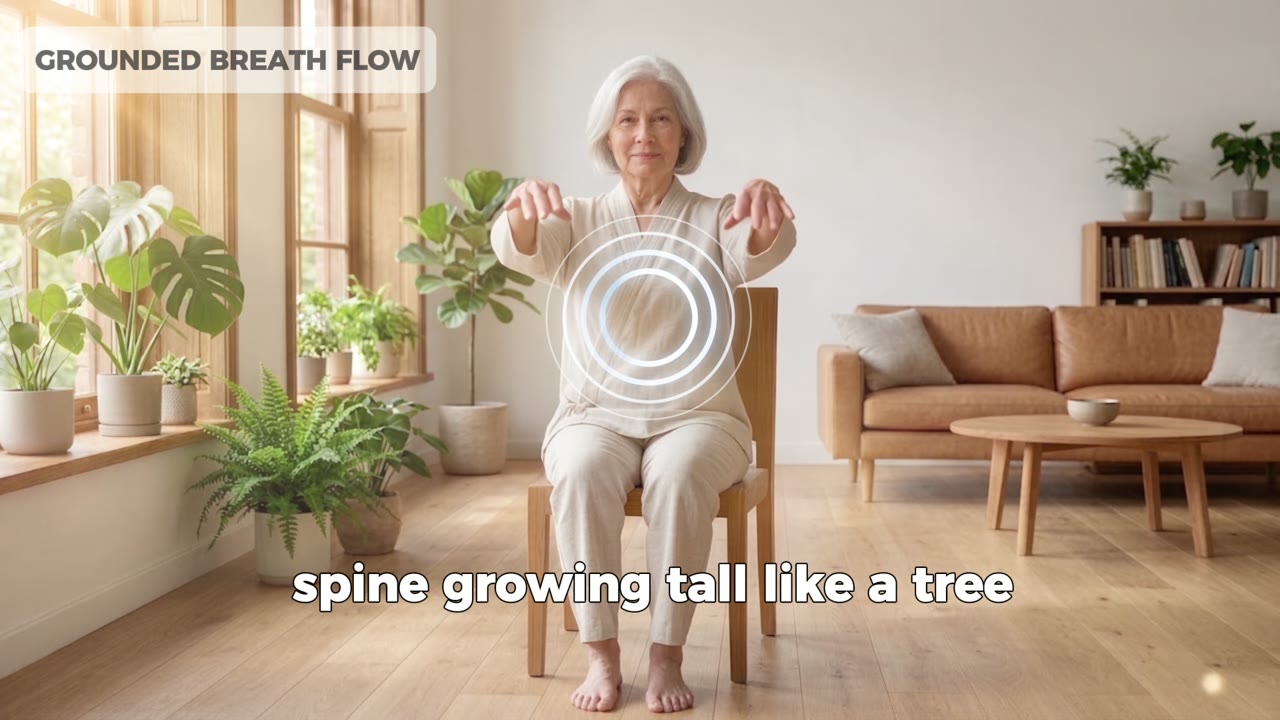
- Grounded Breath Flow
- Palm Turn Sequence
- Flowing Arm Circles
- Balanced Forward Press
- Full Flow with Music, Part 1
- Full Flow with Music, Part 2
- Closing Harmony Pose
- Quiet Reflection and Farewell
The details
- About 11 minutes in total, all seated, with no standing or floor work
- Spoken steps shown on screen, so you can follow without looking away to read
- Steps 1 to 4 are free for everyone, with no email or sign-up
- $19.90 one time for all 10 steps: no subscription
- 30-day money-back guarantee: reply to any of our emails and we'll refund you in full, no forms
- Secure checkout by Stripe, and your access link arrives by email. You can request another any time.
- The on-screen teacher is AI-animated
Try the four free steps first. If the pace feels right, get the full course for $19.90.
Keep the Routine Where You Can See It
A routine on paper removes the "what comes next?" hesitation. The Chair Tai Chi Printable Pack gives you ready-to-print workout sheets:
- $9.90, one-time payment via Stripe
- 8 files in one ZIP: men's and women's versions, each as A4 PDF, US Letter PDF, A4 JPG and US Letter JPG
- Clean layouts for home printers, senior centers, local classes, and caregiver handouts
- No login required, and you can download again later with your email
Preview the Printable Pack. Or try the free printable guide for seniors first.
Next Steps
- Short on time? Try the 5-minute chair tai chi routine.
- Want a longer session? Move on to the 15-minute routine.
- Looking for a gentler stretch-focused session? Read our tai chi chair yoga guide.
Frequently Asked Questions
How long before I notice a difference? Many people notice calmer breathing and looser shoulders within the first week or two. Balance and strength changes take longer and vary from person to person.
Do I need to learn the Chinese names? No. They are interesting, but you can practice perfectly well with plain English descriptions.
Can I practice if I use a walker or wheelchair? Yes. Use a stable seat or lock your wheelchair brakes, and adapt the arm movements to a comfortable range.